|
ADVERTISEMENT
|
ADVERTISEMENT
|
|
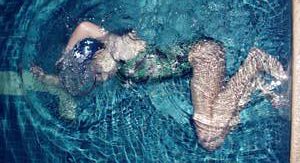
3/10/04 Learning the Perfect Streamline
Think your streamline is perfect? Think again. It probably could use some help. To make your streamline super-efficient, you must find every way possible to
eliminate as much frontal resistance as you can. The perfect streamline takes a
lot of practice, and demands extremely good flexibility.
The following exercise, which should be done before workout with the rest of
your pre-workout stretching, will help you develop the flexibility you�ll need
to attain a perfect streamline.
To improve your streamline, flatten your lower back by flexing your abdominals and bring your wrists back to the wall. Then point your toes while holding this position. Practice getting into this position on land, then try it in water. With a little practice, you can become as streamlined as Attila.
2/3/04 Proper Getaway: The Drop Push
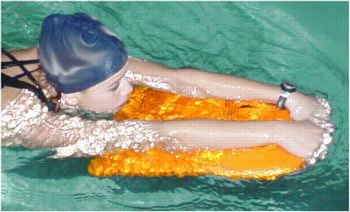
1/13/04 Don’t Go To the Board: Treating Shoulder Soreness
Differently There is a widespread misconception among coaches and swimmers thinking about treating shoulder injuries. During workout if you begin to feel pain or soreness in your shoulder and you switch to kicking with a traditional kickboard, using a traditional position, you may actually be making the problem worse. The traditional position -- with your hands holding the tip of the board, your elbows resting on the surface of the board and your head up, eyes looking forward -- increases the pressure on your rotator cuff. The main movement that causes pain in the shoulder during freestyle is the top catch of the stroke. Kicking with a board can cause your shoulder to feel prolonged pressure similar to what you feel during the catch.
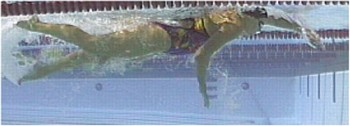
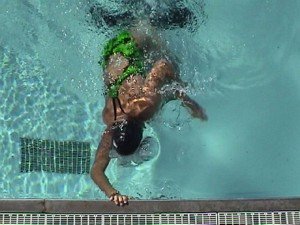
11/17/03 Maintaining Proper Body Position During Freestyle Flip
Turns: In this Tip on Technique, we will discuss the major factors leading to proper body position on freestyle flip turns. The turn is demonstrated by world record-holder Lindsay Benko.
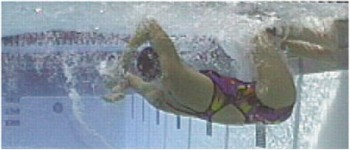
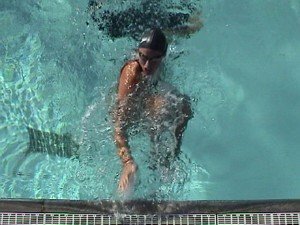
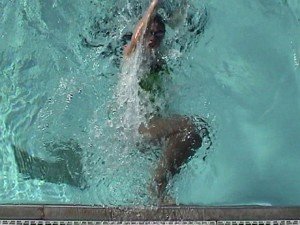
When performing a breaststroke or butterfly turn, your goal should be to get in and off the wall as quickly as possible. How fast you can turn depends largely on how quickly you can get your feet onto the wall. The breaststroke and butterfly open turn can be broken up into three distinct phases:

Touch
Push off the wall with your toes only, as if you were jumping rope. Your heels should never be placed firmly on the wall. When pushing off, your feet are planted on the wall, parallel with the bottom of the pool. This will help you to push off more on your side, since pushing with the toes pointed down causes a lot of resistance. As you push off, you will twist the body in a corkscrew motion onto the stomach. Your feet must push off with your shoulders past vertical and with your chest facing the bottom, as you hold your streamline tight by squeezing your arms against your ears. There are two common errors in doing breaststroke and butterfly turns: the "spin like a top turn”, and the “pull-up turn”. If you “spin like a top” when you turn, it may be because you are rotating your head in a “no” motion and rotating your shoulders horizontally through the water. To correct this, keep your eyes on the wall until your feet are on the wall. The speed of the turn does not depend on how quickly you get your hands on and off the wall, but how quickly you get your feet on and off the wall! Once your feet are on the wall, bring your head back into your streamline looking upward rather than turning your head to the side. Pulling yourself up out of the water as you turn , probably means that you are grabbing the lip of the wall and pulling your shoulders and chest up and out of the water. This turn will cause you to lose most of your momentum, since you want to get “in and out,” not “up and down”. When your hands touch the wall, rather than pulling yourself up, immediately bring one of your elbows back and drive your bent knees and feet into the wall.
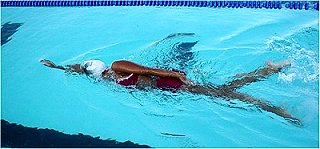
Freestyle breathing is one of the most basic skills that swimmers learn early on. When and how often you should breathe, however, is a more complicated matter that changes throughout your swimming career. For some swimmers, the most notable of these changes involves bi-lateral breathing. Bilateral breathing occurs while swimming freestyle when you breathe on an odd count (every 3rd, 5th, or 7th stroke) and the head is turned to one side to breathe and the following breath is to the other side. One advantage of bilateral breathing for competitive swimmers is that it keeps your body balanced because you rotate to alternate sides each time you breathe. When you breathe to one side, you may only be rotating to your breathing side. This uneven body rotation causes you to extend the recovering arm (the arm that is in the air while you are breathing) less than your other arm, hindering your distance per cycle. When you only breathe to one side, you may also encourage uneven muscular development in your shoulders. This can lead to injury. Many swimmers find that learning to breathe bilaterally is difficult. This seems particularly true of Masters swimmers. The first stage in learning bilateral breathing is learning to rotate and breathe comfortably to your non-natural side. Practice doing 50’s, breathing to the right on the first length, then to the left on the second length. This will allow you to even-out your body rotation while keeping your normal 2- or 4- count breathing. When training, it is very important to keep rotation even, while breathing at an appropriate rate. For many swimmers the appropriate rate is roughly one breath every 2 seconds, or approximately one breath every 3 strokes. Timing Basics: One of the common characteristics of most great breaststrokers is their timing. Timing includes both the order and the spacing in between the parts of your stroke (pulling, kicking, etc.). One of the simplest and most effective ways to teach breaststroke timing involves using what some coaches call "self-talk." In self-talk you speak your swimming cues to yourself, consciously affecting what your body is doing. The self-talk that you use with breaststroke is “Pull-Breathe-Kick-Stretch.” By speaking to yourself, you can positively impact technique flaws, especially in timing. Some of the common technique flaws in breaststroke timing and the ways that using a self-talk can overcome them include the following:
The breaststroke self-talk can be modified to fit into many drills that most of you already know.
Warm-Up Tips for Minimizing Shoulder Pain The risk of shoulder pain during swimming is a real one. Even with perfect technique, the number of repetitions alone can wreak havoc on your rotator cuff. Improper technique can increase your risk of injury. It's important for you to use a correct catch motion with your hands and maintain a high elbow recovery at all times, including during warm-up. During the arm recovery above water, keep your fingertips pointed down toward the bottom of the pool on freestyle and extend your arm directly in line with your shoulder (vs. crossing in front of the head). Your rotator muscles are relatively small and weak. If you're just pulling your hand through the water (versus rotating your body while you pull), you may be putting too much stress on rotator muscles. Important factors to consider about your workout and shoulder pain:
Basic Drill for Balance and Body Position: The following drill can be valuable for all swimmers, from beginners to elite athletes. This is a drill that emphasizes balance: keeping your body still and relaxed in the water. Body position refers to the angle the body maintains in relation to the surface of the water from both head to toes, and shoulder-to-shoulder. To maintain an ideal body position, keep your eyes looking downward (except on backstroke). While looking down, your hips and shoulders should be parallel to the surface. Press down on your armpit in order to keep your hips and feet on the surface. Extension Kick on the Side
When using this drill to work on backstroke, keep your eyes focused on the sky or ceiling, keeping the tips of both ears slightly and evenly submerged underwater. Your feet will tell you whether or not your body is perpendicular to the surface: if your feet are kicking perfectly side to side and making very little splash, then your body position will be correct. You may have to adjust your head position and lower the angle your eyes are looking at in order to keep your hips on the surface. If you find your hips sinking, you may be lifting your head and eyes to breathe (rather than simply turning your head to breathe). This drill also can be modified in order to work on rotation for freestyle. Begin kicking on your side, as explained above. After 10 kicks, begin to lift the elbow of the arm that is at your side, dragging your fingertips across the surface. Once your hand has reached your armpit, and your elbow is pointing directly up, begin to pull with the other arm and rotate into the same extended position on the other side. The extension kick drill can also be used with butterfly kick. Keep your cheek on the surface, and your eyes above water, looking toward the side of the pool. Do butterfly kick keeping your upper body balanced and your extended arm fairly still. You should try to begin the kick from the upper abs down into your hips and legs. This will prevent you from pressing the chest too far, or allowing the shoulders to bounce while doing fly kick.
7/2/03
You’re coming out of a freestyle or backstroke turn, streamlining on your side. With which arm do you pull first? You can create several advantages by pulling first with the arm that has the shoulder facing the bottom: (Note: Because of the natural rotation, or body roll, in freestyle, it is easy to tell which side is facing the bottom. However, on backstroke, most swimmers push off fairly flat on their backs. Do what the best backstrokers do and drop one shoulder a split second before your breakout to gain the advantages described below.)
|